
Birch Tree Mobile
- Sep 16, 2019
- 2 min read
I love contrast. It could be because that’s what I see when I look in the mirror: fair skin and dark hair. It’s probably also why my favorite species of tree is birch. Their striking white and black bark stand out from all the rest. We’re lucky to have many birch trees on our property. However, about a year ago, we had a fierce storm rip through our area, knocking down several. Instead of letting them lie there and go to waste, I quickly tried to think of ways to repurpose them. We’ve used them for centerpieces and other decorative elements in our home, but my favorite way we’ve used them was for this beautiful birch tree mobile.

Here are the steps we took to create this nature-based work of art, but first this is what you'll need:
Clean white birch bark, that can be cut into small strips;
two birch tree segments;
watercolors (We used watercolors from a tube, because that's what I had on hand, but any kind will do. Liquid watercolors would probably work best for this);
watercolor brushes;
a cup of water, for rinsing paintbrushes;
transparent beads with a wider hole, such as pony beads;
jute, hemp, or another natural fiber string;
and small pieces of driftwood (optional).
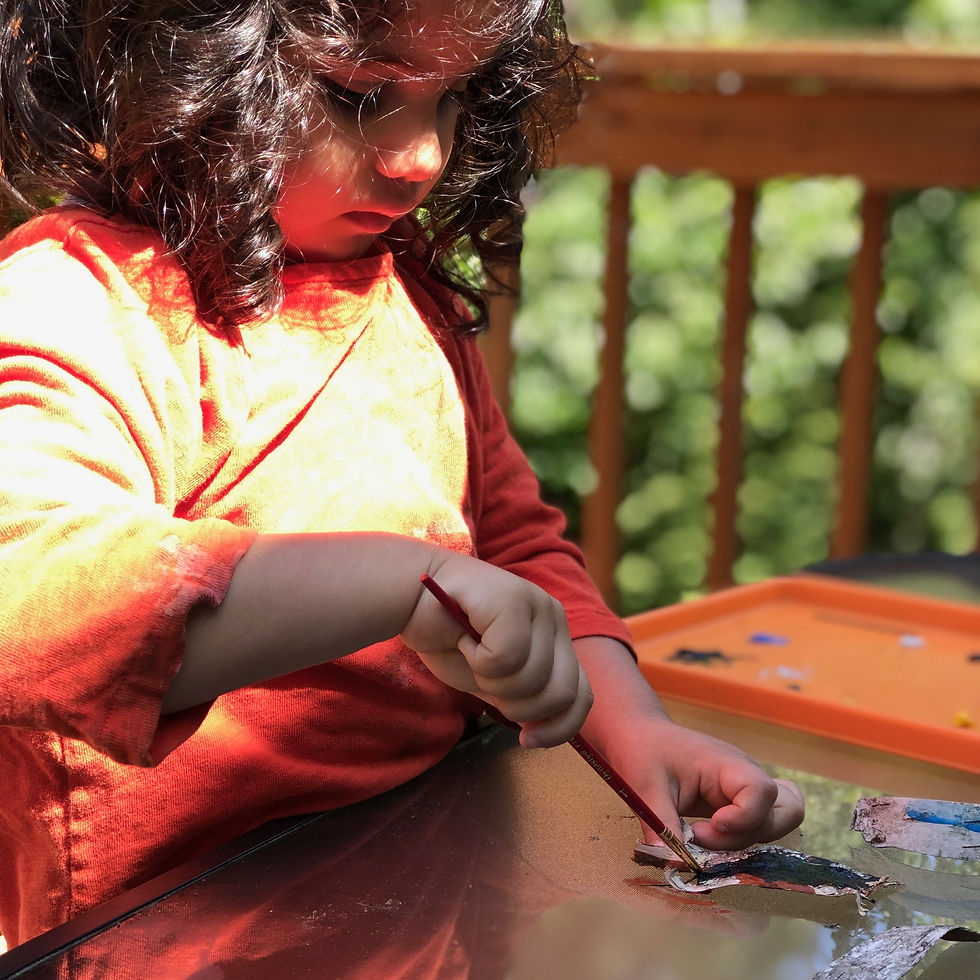
Searching our backyard, we found big birch bark pieces, literally falling off their trunks. I cut them into strips and we painted them with watercolors. It's amazing how much longer kids will sit, when they're painting on something with a unique look and texture. My daughter, Laina, did this for a while! We used watercolors from a tube, which I wouldn't necessarily recommend, simply because it can be tricky to use. I was able to help her a bit and pre-mix some colors in water, but using liquid watercolors is probably best for little hands.
When they were dry, I used a hole-punch to make a hole in each one.

We strung transparent beads and the birch birch bark pieces onto jute string. I also tied a small piece of driftwood towards the end, so the beads wouldn’t fall off as we worked.

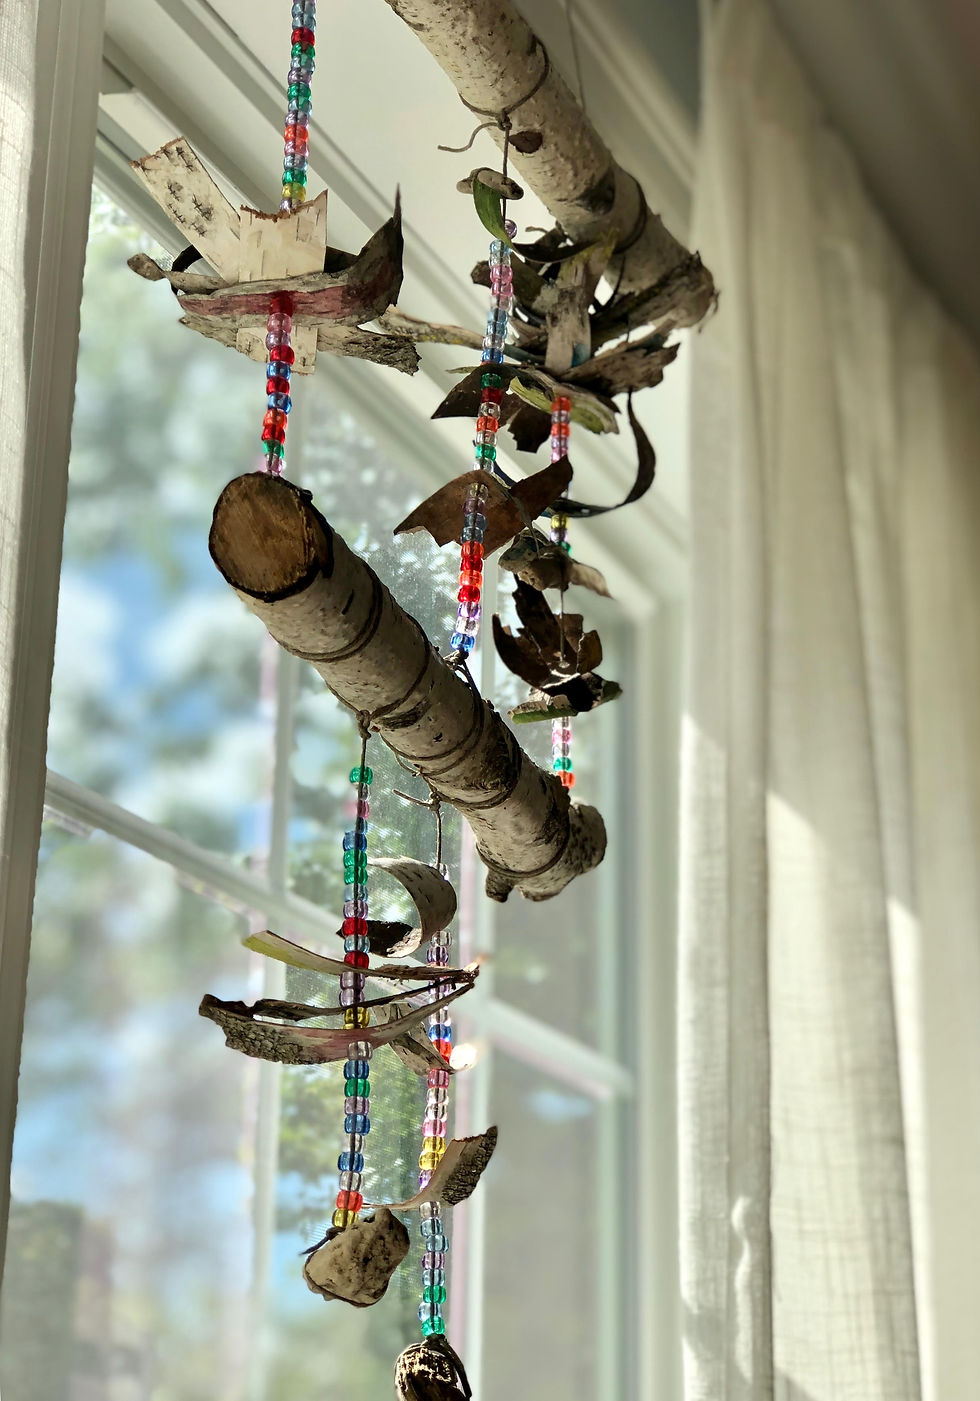
Finally, we tied our strands of beads and bark to our tree segments. How many strands you create and where you tie them is up to you. To keep the tree segments parallel and balanced, space the strands equidistantly and make them the same length. We tied three strands to both tree segments (for the top layer) and hung two from the bottom tree segment.
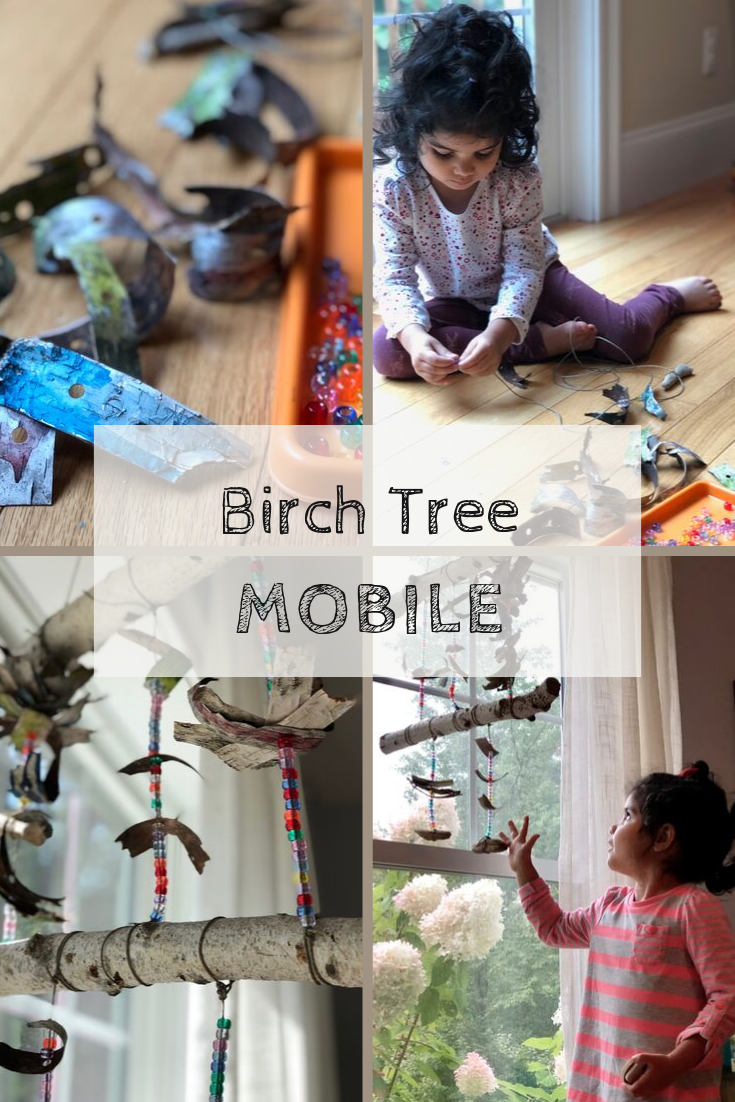
Sunlight shines through the transparent beads as it hangs in a window in our home and it's so pretty!
I hope you enjoy this art project as much as we did!


Comments