
Painted Wood Chip Compositions
- Sep 23, 2019
- 2 min read
If you haven’t noticed by now, I love being creatively resourceful. Personally, I find it extremely inspiring and satisfying to repurpose “trash” or natural materials to make something new and beautiful. I also don’t like spending money, when I don’t have to. So, of course my husband didn’t blink an eye when I asked him to bring some wood chips, from a recent side-job.

This project is best to be completed over two days, to allow for ample drying time in between stages.

This is all you will need for this project:
A sturdy surface (such as wood panels or canvas boards);
Wood chips (which you can buy at the store, but a lot of the time, can acquire for free);
Washable/tempera paint;
Paintbrushes;
Glue; and
Oil pastels (optional).
The process to complete this project is extremely simple and open-ended, so make it your own and have fun with it! Here are the steps we took:
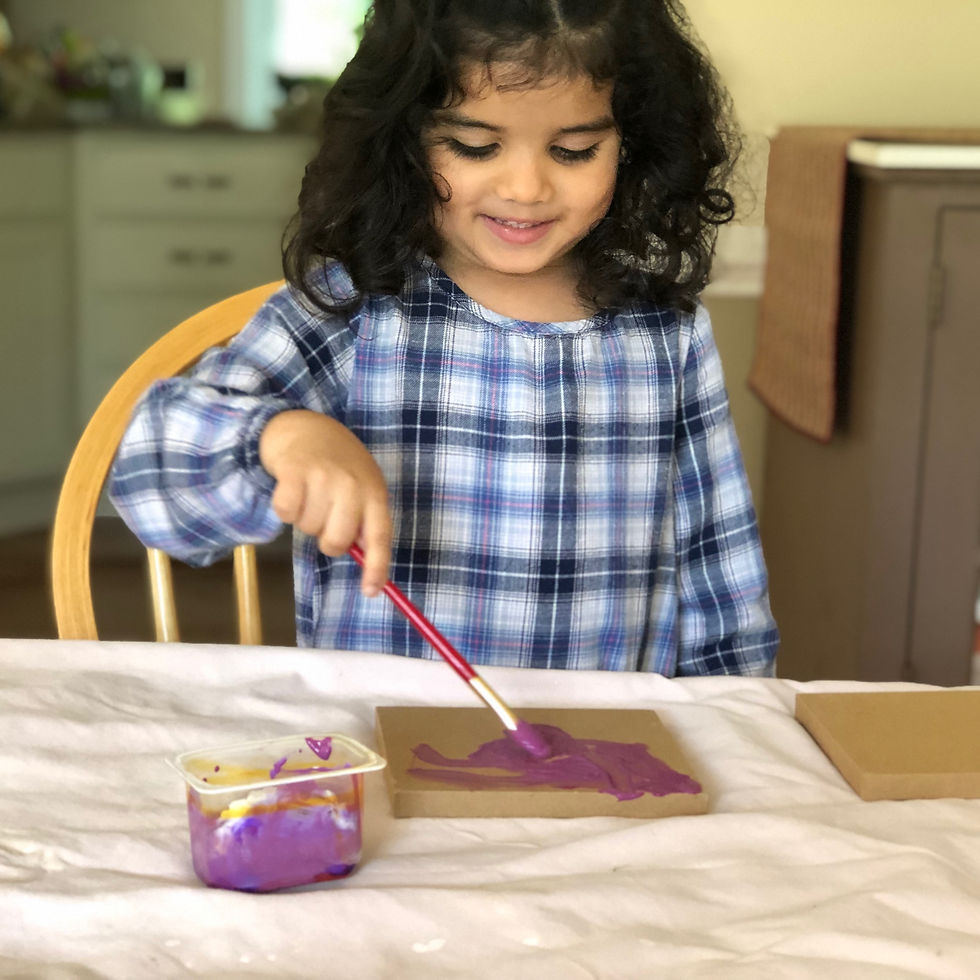
We chose one paint color for each surface. We mixed up our own colors - a berry purple and a paprika orange. As a side note, did you know that some big-box items include some awesome packaging? We got these 5.5”x5” wood panels (plus two more) from a TV box!
Next, we painted our wood chips. This was a fun opportunity for my daughter, Laina, to experiment with a variety of colors. The number of wood chips you paint is up to you. This kept Laina entertained for a while, so we painted quite a few. When we were all done, we left them out to dry completely. It took ours a good 8-12 hours, since we used a ton of paint.


When dry, we created a composition with our wood chips on our painted backgrounds and glue them in place. You could make a picture, but we just created an abstract arrangement.


When the glue was dry, as a final touch, we added a bit of oil pastel on top of some of the wood chips, for an extra layer of color.


Let me know if you like this project and if you give it a try!


Comments