
Three Simple Christmas Crafts
- Dec 23, 2019
- 3 min read
Handmade decor and gifts are not only resourceful (and frugal), but sometimes prettier and more thoughtful than store-bought items. As we live in such a consumerist society, it's refreshing to show my children there are many ways to give, without spending money.
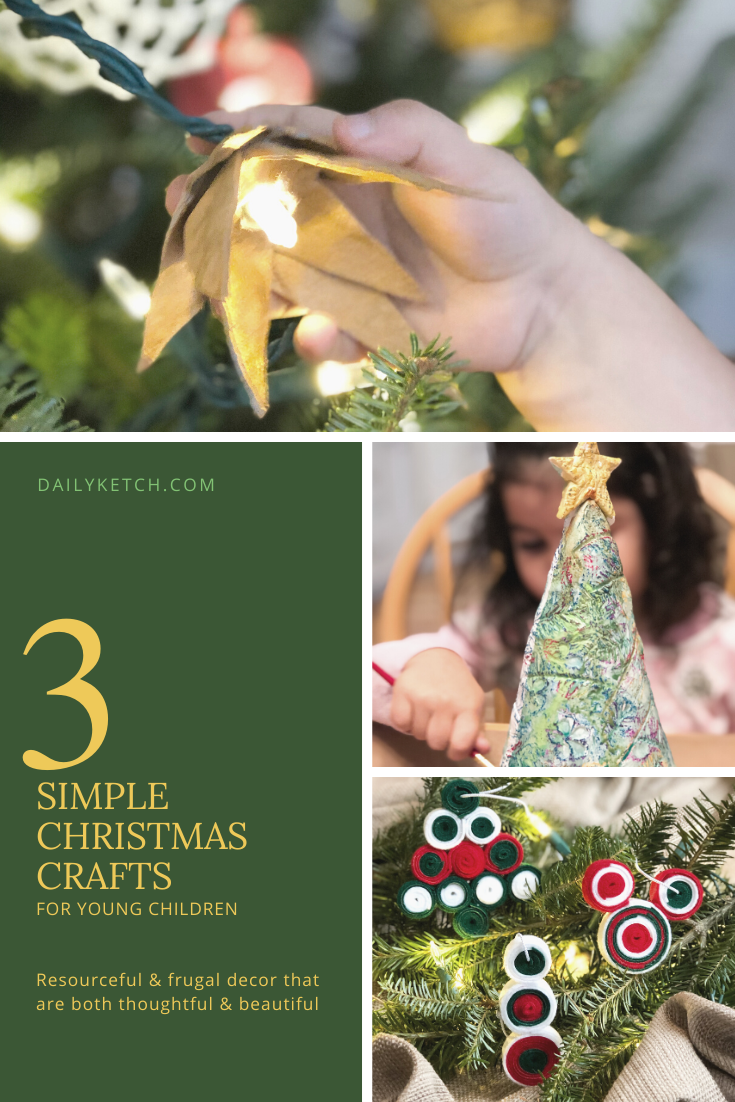
The following are three simple holiday crafts, that your kids are sure to enjoy:
Tree Lights Egg Carton Stars & Flowers
Inspired by hearthandvine.com
You will need:
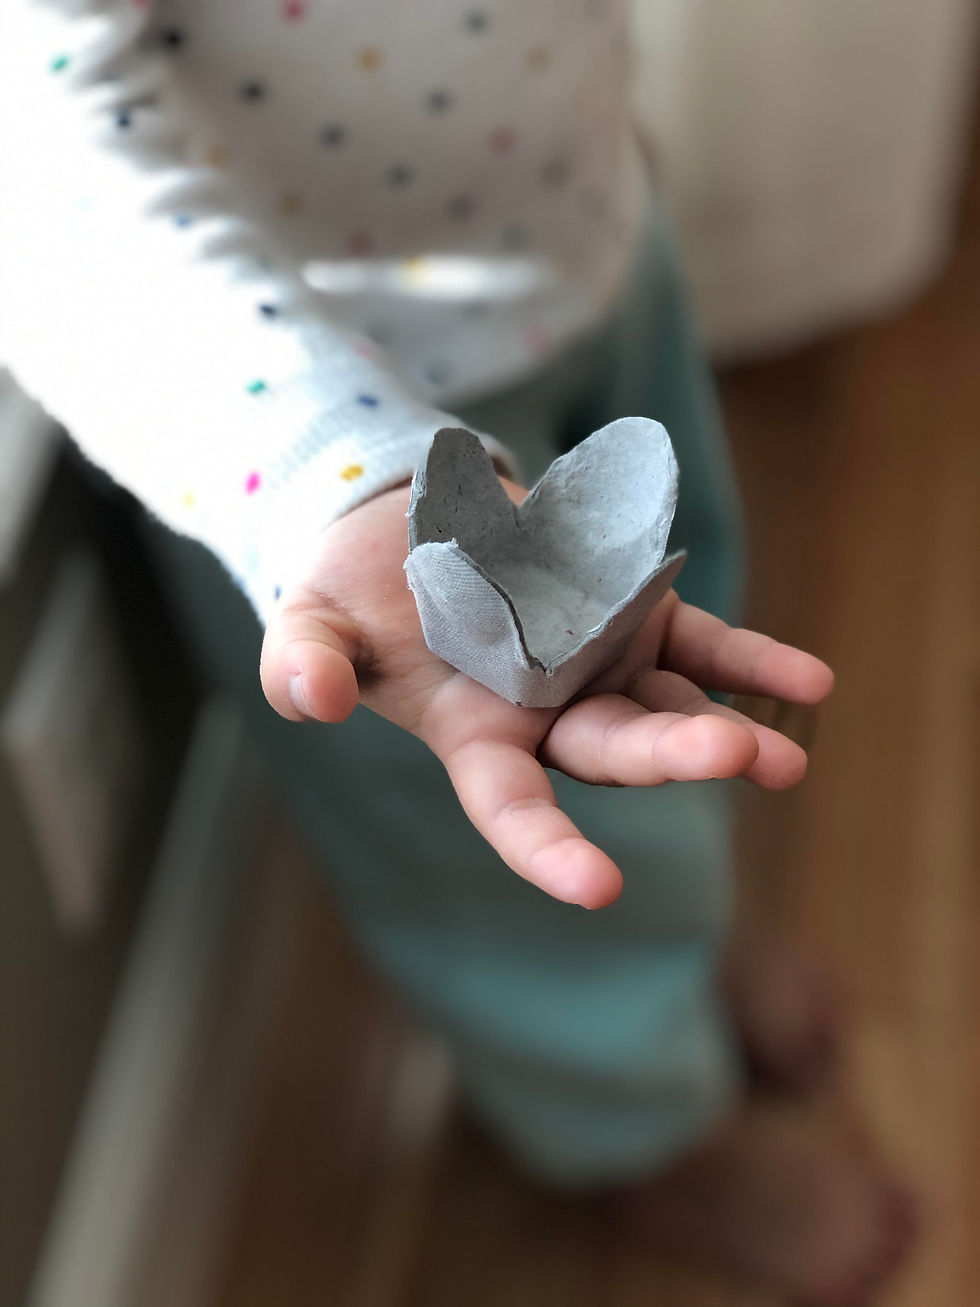
Egg carton cups, cup into flower and star shapes;
paint;
paintbrushes; and
a pairing knife or sharp pencil, for creating holes.
Cut out the cups from an egg carton and cut into flower shapes or star shapes.
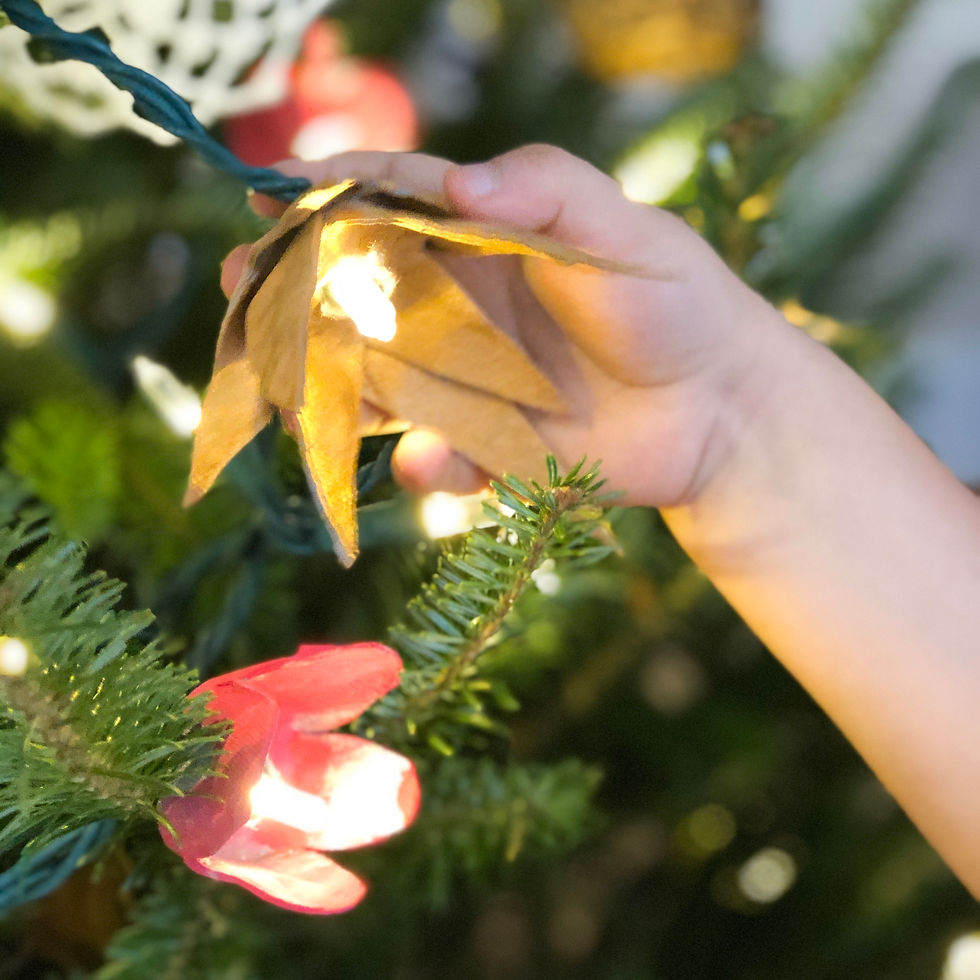
Use washable paints to coat each cup, front and back. We used red and metallic colors!

Let dry completely, before continuing.

Take a pairing knife, a freshly sharpened pencil or another sharp-pointed object to poke a hole through the bottom. The hole should be about the same width as a tree light.

Fit each one over a tree light and you're done! Beautiful, right? For the star, we stacked two, so it had more points.
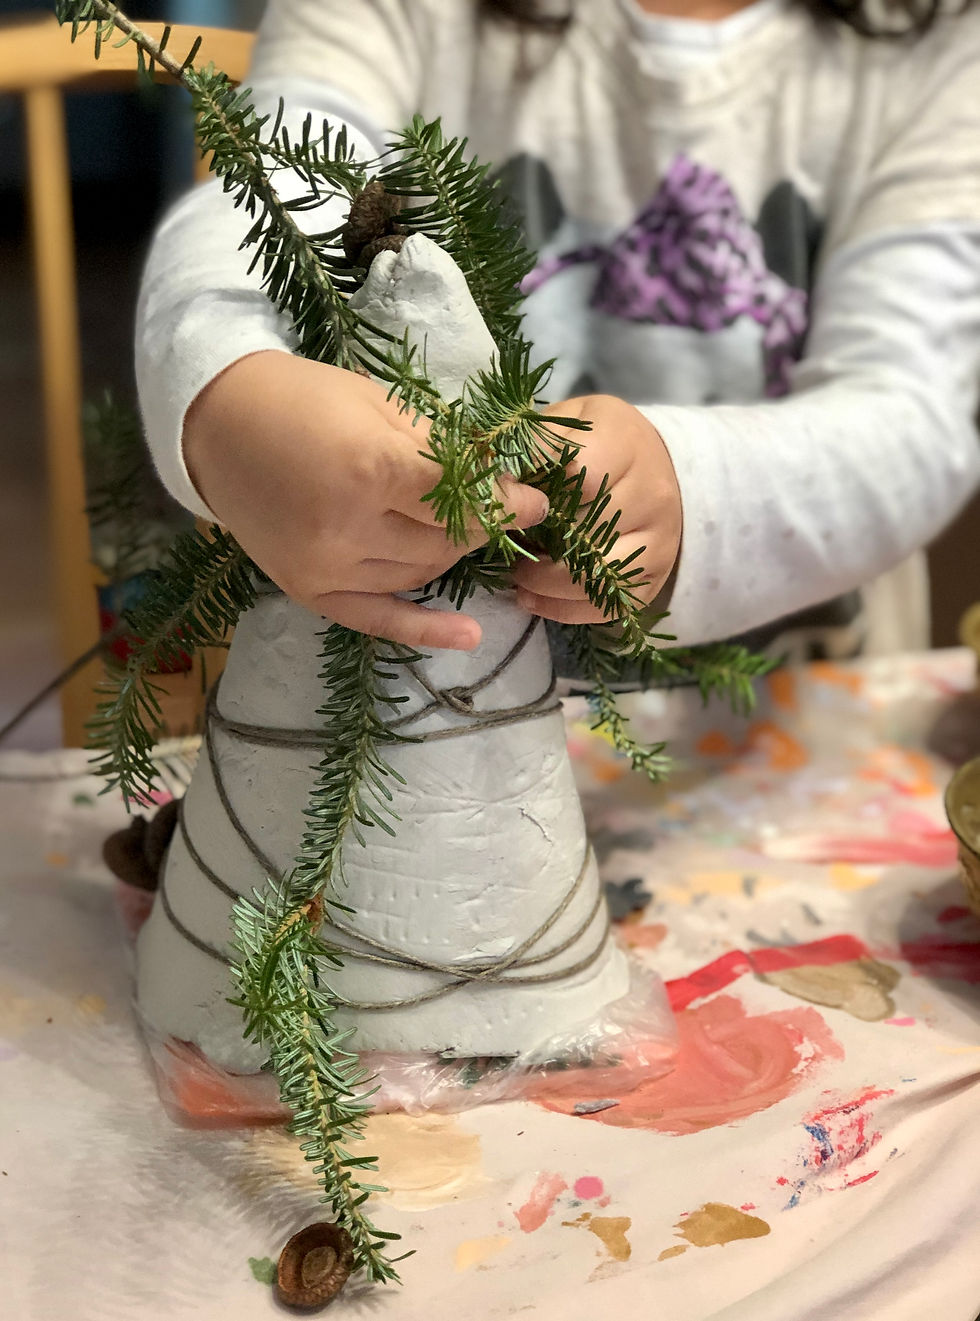
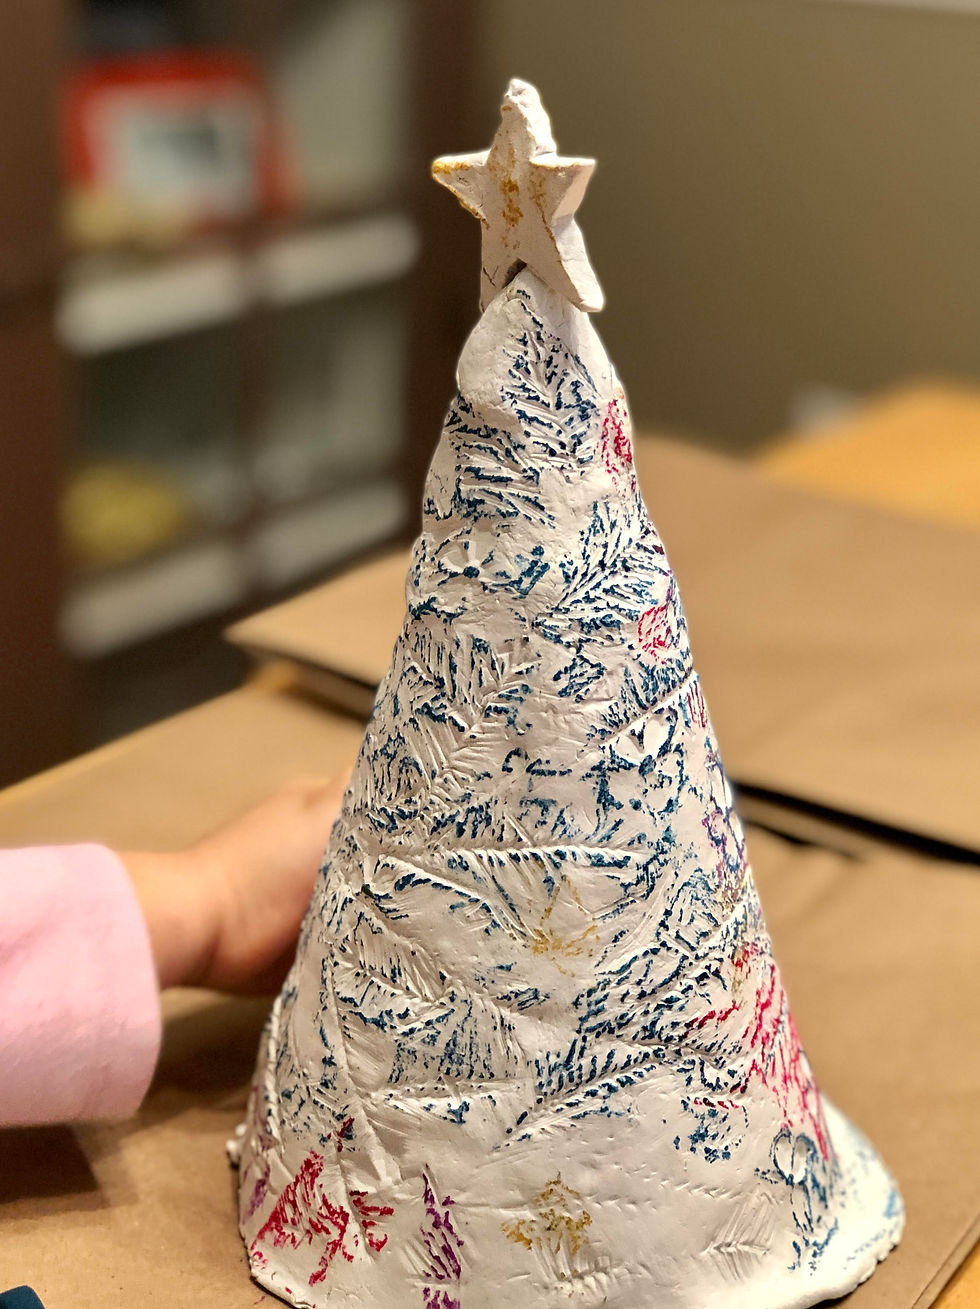
Clay Debossed Christmas Tree
You will need:
Air-dry clay;
pine branches, pine cones, string & other natural materials for stamping;
a plastic or cardboard cone;
a plastic bag or saran wrap;
oil pastels;
watercolors; and
paintbrushes.
Take your cone (ours is a plastic construction cone I found at Hobby Lobby) and cover it with plastic.

Roll your air-dry clay into a large slab, about 1/2" thick.

Wrap the clay around the cone and blend the edges, so that it's seamless. We used our fingers, some warm water and the backside of a butter knife to accomplish this. You can also trim the bottom and make a cute little star with the leftovers. I fed half a toothpick up through the bottom of the star and then poked the other end through the top of the tree, so it was secure.

Use a variety of natural and found objects to gently, but firmly make impressions all over the tree. When finished, let dry completely. This should take a good 24 hours or so, depending on the thickness of your clay.
When dry, hold oil pastels flat and rub in little circles all over the tree's surface.
Use watercolors to paint on top. I used watercolors from a tube to mix up some different shades of green. Just a tiny dab of paint mixed with some water makes a lovely liquid watercolor.
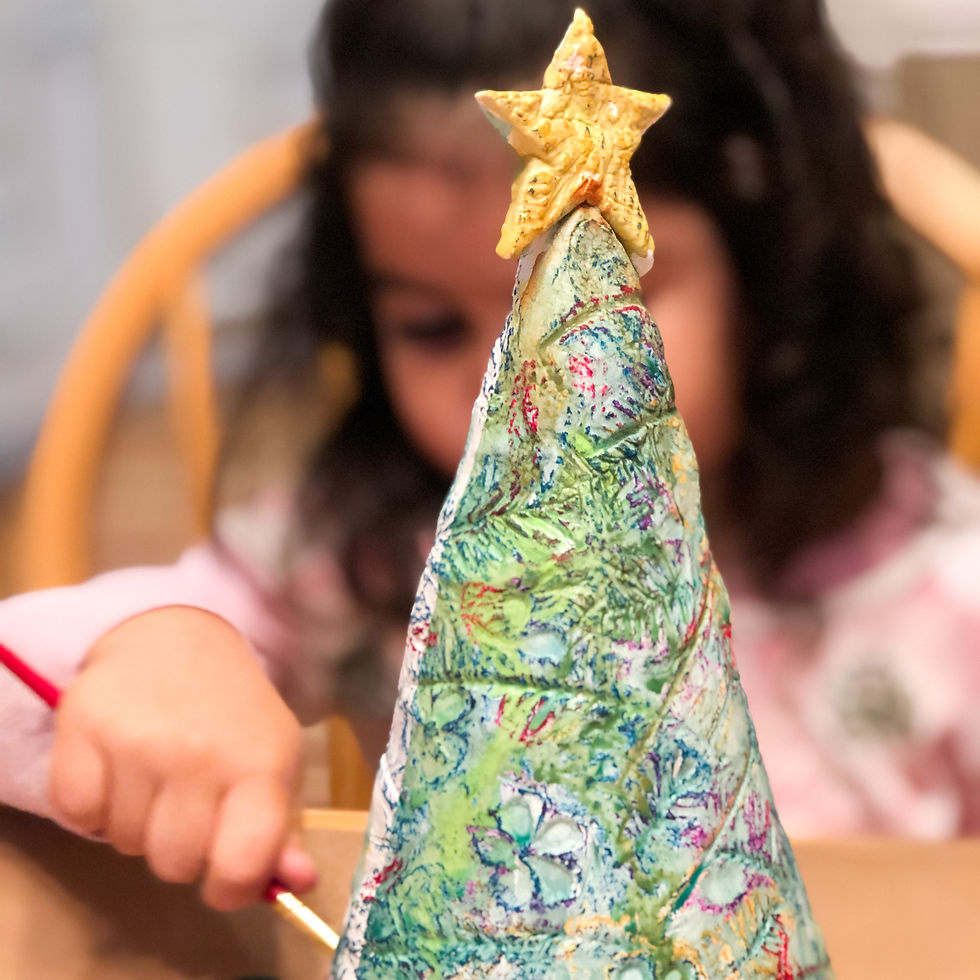
This would be a beautiful tree topper or just a simple table-top decoration. I love the colorful resist effect that happens with the pastels and watercolors!

Coiled Felt Ornaments
You will need:
Felt with an adhesive backing;
scissors;
tool for wrapping, like a skewer or a knitting needle;
a hot glue gun; and
string.
Cut your felt into 1/2" strips. I wanted them all to be exactly the same width, so I used a ruler to measure and draw lines, before I cut.
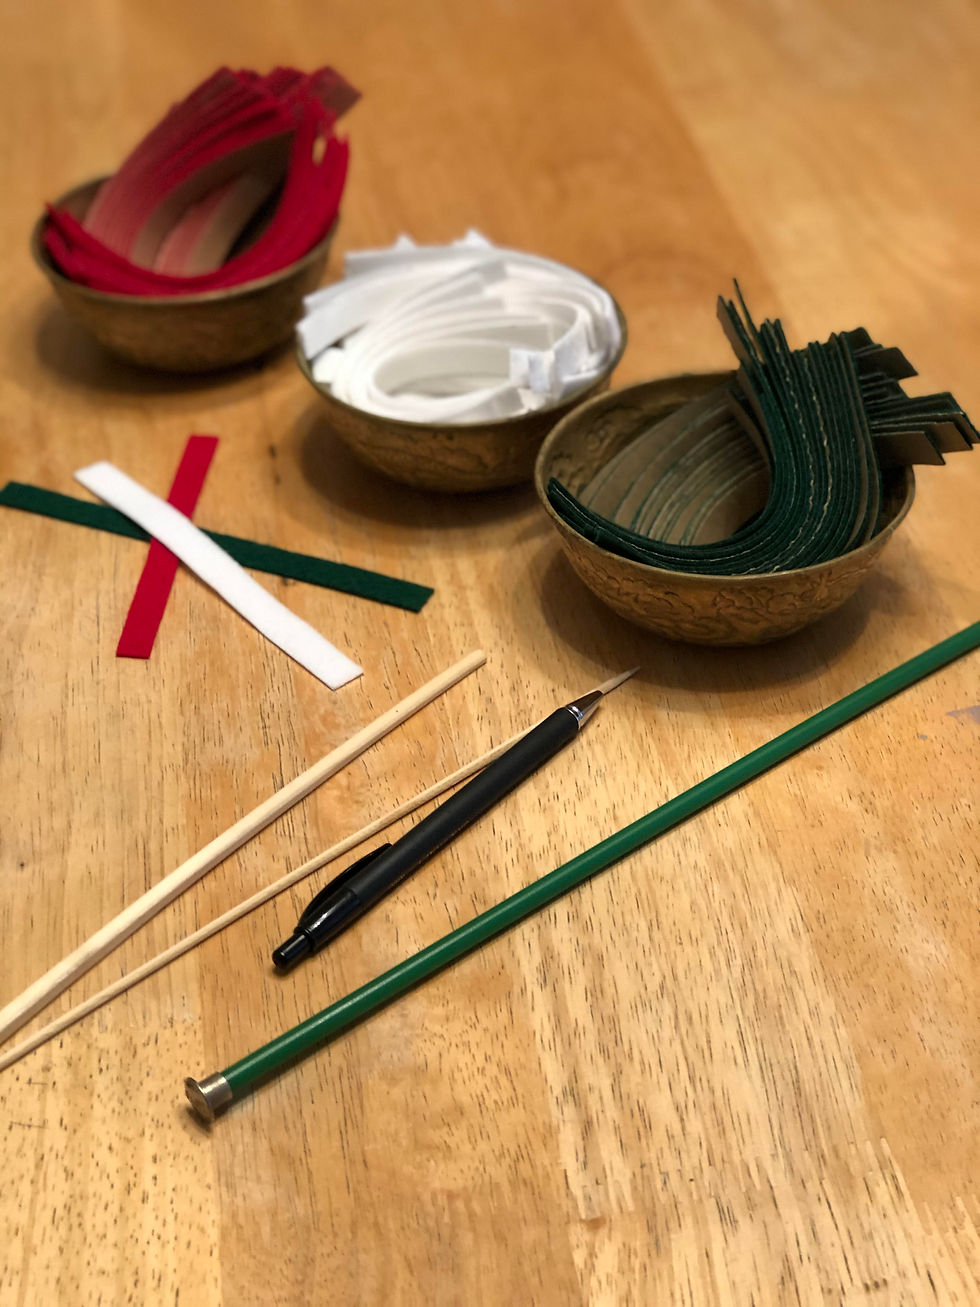
Take your wrapping tool and wrap your first strip around it snuggly, sticky side out. For the following strips, wrap tightly sticky side in, while lining up the edges with the one that preceded it. We liked using a skewer, because it created the smallest hole when we were finished.
You can make the coils as large as you like. It all depends on how many strips you want to add. When you're finished with each, slide off your wrapping tool and set aside.

When you've made all the coils you want, start arranging them into shapes. We made trees, snowmen and mickey mouse!

Heat up your hot glue gun and tack down any edges that are unsticking.

Carefully glue the coils together to make your shapes.

Feed a string through the center of one the coils and tie to make a loop for hanging.

A simple and cute craft for kids that's great for practicing fine-motor skills and creative problem-solving!
I hope you give these festive crafts a try! Merry Christmas!


Comments