
Two Reusable Art Activities For Any Age
- Nov 17, 2019
- 2 min read
Updated: Jan 22, 2020
Do you like to reuse or start fresh? Do you like to minimize or accumulate? I don’t know about you, but I to feel a little overwhelmed when have an excess of stuff in my house. Any time I can repurpose or reuse something, to cut down on the waste and clutter, is a win for me. A while back, I developed two art projects that are fun, educational and, yes, reusable. Keep on reading to learn how I made both.

1. Dry Erase Art History & Drawing Prompt Coloring Sheets
What you’ll need:
Printed coloring prompts/coloring sheets and images of famous artists;
a laminator or sheet protectors (if you don’t have one); and
dry erase markers/washable markers.
Print your Images:

If you’re creating art history coloring sheets, print a double-sided page – one side a coloring book version of a famous painting and the other side a photo-image of the artist who created it. Websites supercoloring.com and thecolor.com are great resources for finding great art-themed coloring pages.
If you’re creating drawing prompts, check out picklebums.com. You’ll find awesome and free printables that work great for this.


Laminate:
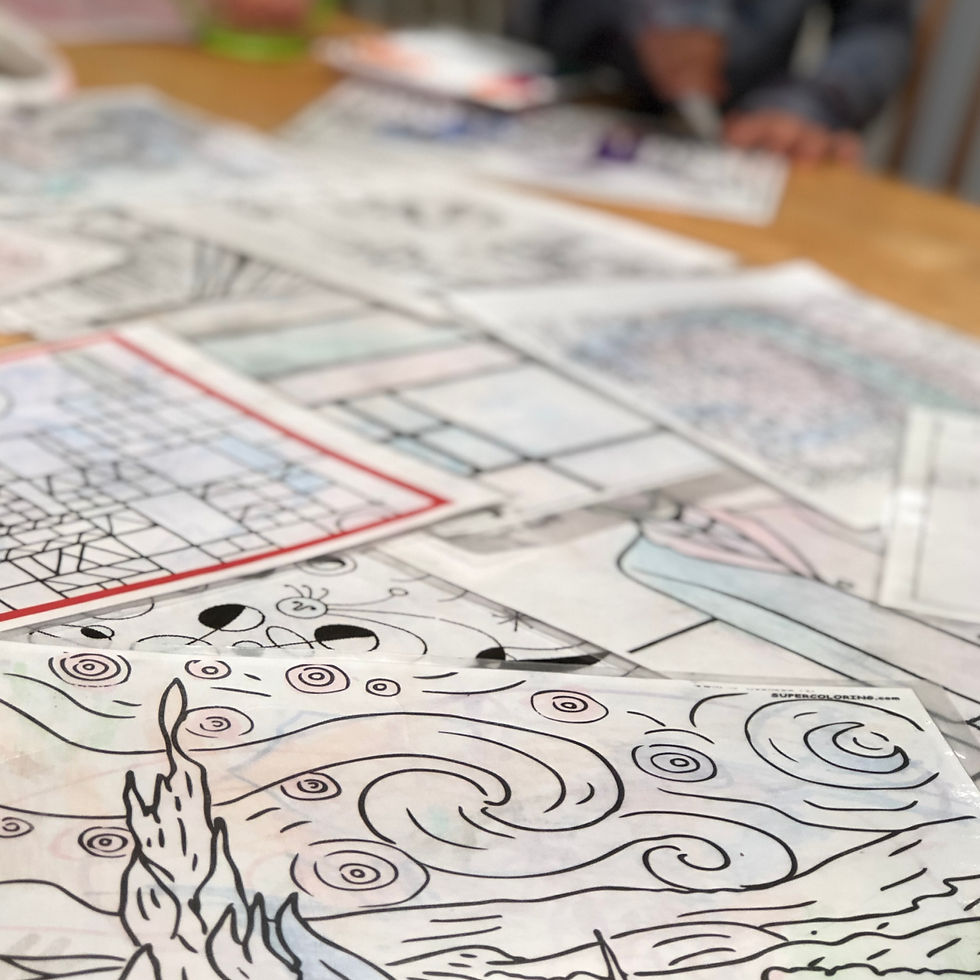
To ensure the longevity of your coloring sheets, I would highly recommend laminating. However, if you don’t have access to a laminator, a sheet protector would work, as well.
Color:

Using dry erase markers, color any way you wish. When you’re done, wipe it clean and start again. Alternately, you could use washable markers and wipe clean with a damp cloth.
2. Andy Warhol Inspired Mono-Prints
What you’ll need:
A simple outline of an image, drawn or printed on about a 4”x5” piece of paper;
at least four pieces of blank white paper, about the same size;
a larger, 9”x12” piece of paper for mounting;
a sheet protector;
washable paints;
paintbrushes; and
oil pastels.
Draw or Print your image and put inside a sheet protector:

Especially if you’re doing this project with young children, I would recommend choosing very simple images, so they will be easy to paint and print. I drew two: a cat and an ice cream cone, but those could easily be found online and resized to your preference.
Slip each image inside a sheet protector
Paint each image four times and each time with different colors:


This is a take on Andy Warhol’s Silk Screen Prints, so there are a couple things to consider, if you’re trying to accomplish a likeness:
Use unnatural colors, such as a green ice cream cone or a purple cat; and
paint each print with different colors.
Doing both of these things will give your prints more of a “pop art” vibe.
Print:

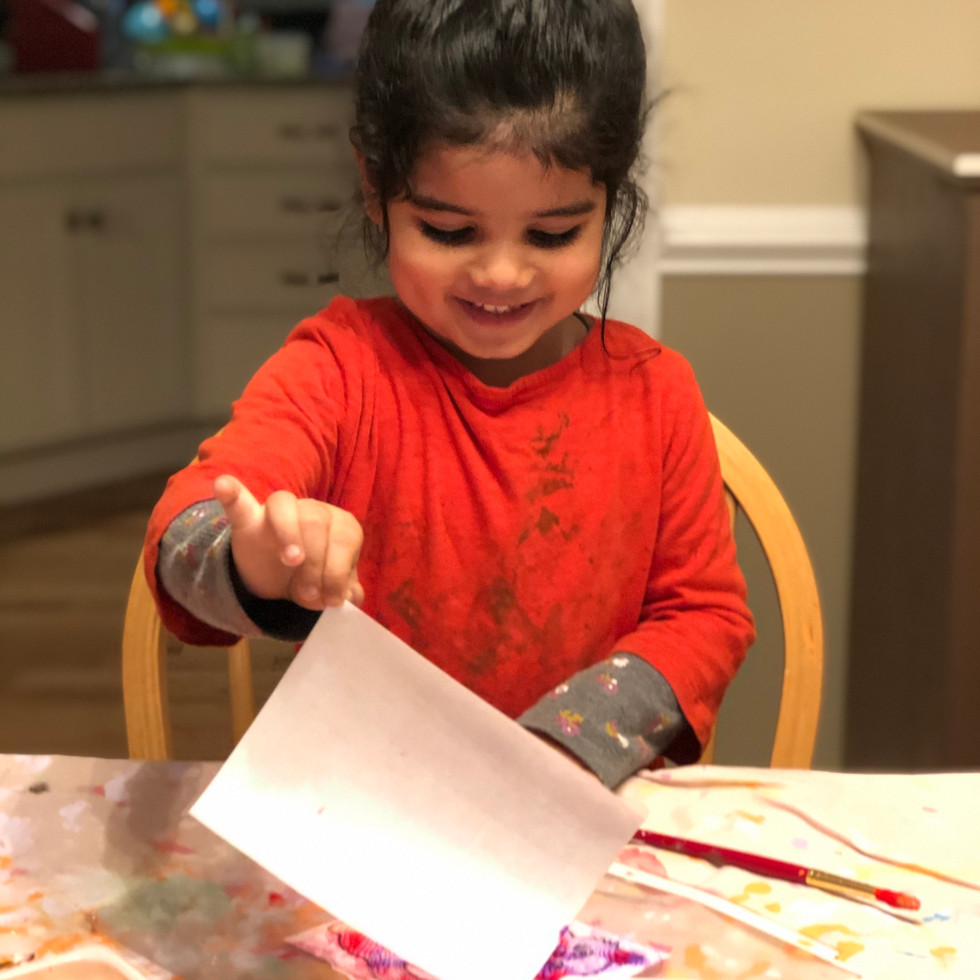


Once you have painted the entire image, place a piece of blank paper on top. Without moving the paper, gently rub the back to fully transfer the paint onto the paper. Once you feel that it is ready, pull the paper off and reveal the print. I guarantee, your kids will be super excited for this part!
Final Touches:


Let your prints dry completely and press under a heavy book. After a couple of hours, add some extra detail with oil pastels (optional) and use a glue stick to mount them to a large piece of paper that will fit all of them.
I have more art history projects coming up, so let me know if you enjoy this! Also, let me know if you try this with your kids!


Comments