
Two Winter Sensory Activities
- Jan 20, 2020
- 2 min read
One question that I often ask myself while planning projects is how do I keep my kids entertained for a long period of time? If the activity isn't not open-ended, multi-staged or really engaging, they’re ready to move on faster than it took me to take it out.

I’m introducing two winter activities that will keep your children happily occupied for hours. Here are a few reasons why these types of activities are so beneficial:
They encourage curiosity, problem-solving and creativity;
they supports language development, cognitive growth and motor skills; and
they’re open-ended, endless fun for many ages!
Indoor Snow Building

What you’ll need:
Fresh snow
a large bin (I used an under the bed storage container);
a large towel (to keep the surface underneath dry);
various building tools and creative loose parts, such as an ice cream scoop, cookie cutters; googly eyes, toothpicks, etc.; and
spray bottles filled with tinted water to change the color of the snow.
Fill your bin with snow, about ¾ of the way full. I wanted there to be enough for my kids to scoop and play with, but not so much that I’d have trouble dumping it out when they were done.

My three-year-old daughter used her hands, the scoop and loose parts to make a snowman family, while my fourteenth month son enjoyed scooping and pressing cookie cutters into the surface.

After they had played for a while, I brought out the spray bottle. Introducing materials slowly is another important factor to an activity’s longevity. This was probably my daughter’s favorite part, as she loved changing the color of the snow.
Melting Ice Discovery

What you’ll need:
a large container filled with water;
various loose parts, toys, colored ice cubes;
a baking sheet;
salt;
warm water; and
and ice droppers.
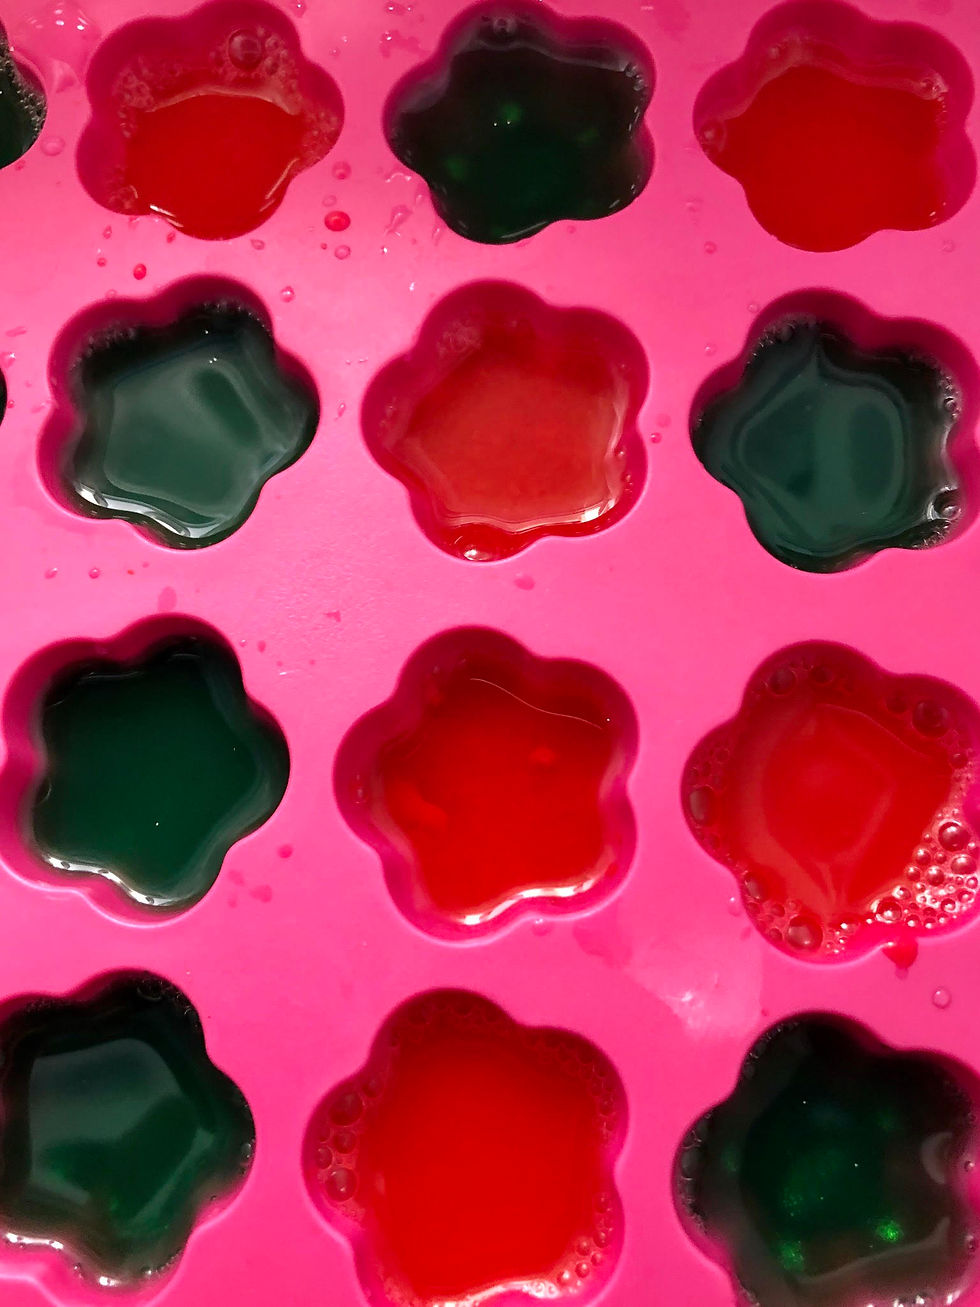
Mix a little bit of paint with water and freeze in ice cube trays. I love using these silicon trays from Ikea.
Fill a large container with cold water and place colored ice cubes, loose parts, toys inside. Freeze until solid.

Flip the frozen block onto a baking sheet (or something to collect the water, as it melts) and put out warm water, eye droppers and salt. We also painted on the ice with watercolors!
**Salt and ice can cause burns if it comes in contact with skin. If using salt, pour from a shaker.

Practice fine-motor skills as you use eye droppers to squeeze on warm water and shake on salt. As the block of ice melts, uncover the nuggets of paint and the trinkets you froze inside!

If you wish to extend the project, you can add more ice cubes.
Something else that I appreciate about these projects there’s very little prep, waste and clean-up. Most importantly, they’ve kept my kids (including my 14-month-old) busy for hours. Now, that’s my kind of activity!


Comments